
How to Paint Behind a Toilet

Painting the walls is always a great bathroom renovation idea. It’s an affordable DIY method that can instantly give your bathroom an updated fresh look.
And don’t forget the room’s nooks and crannies including the walls behind fixtures! They may not be as visible, but being thorough is always a good look for any space.
So if you’re wondering how to paint behind the toilet, this post can provide you with some practical tips to go about it.
Use a slender paint roller and accessories.
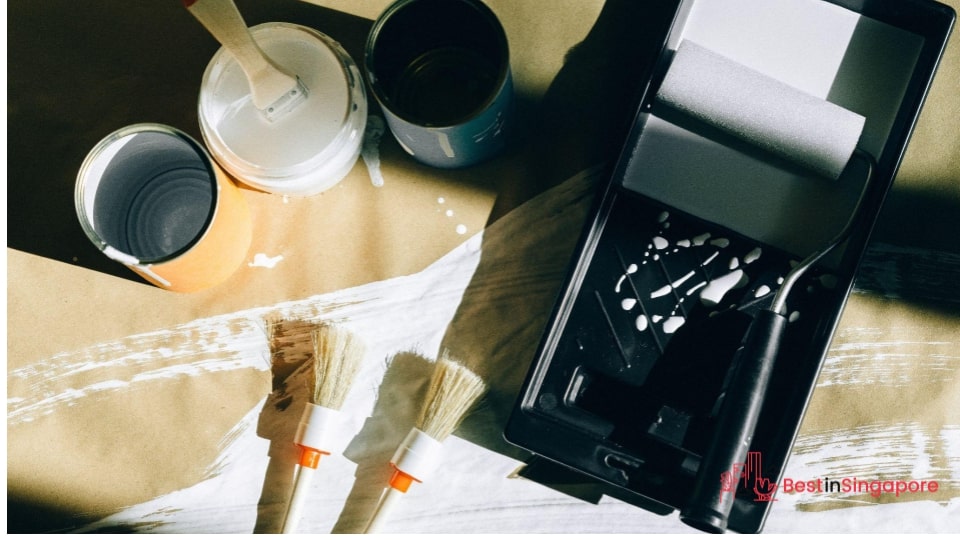
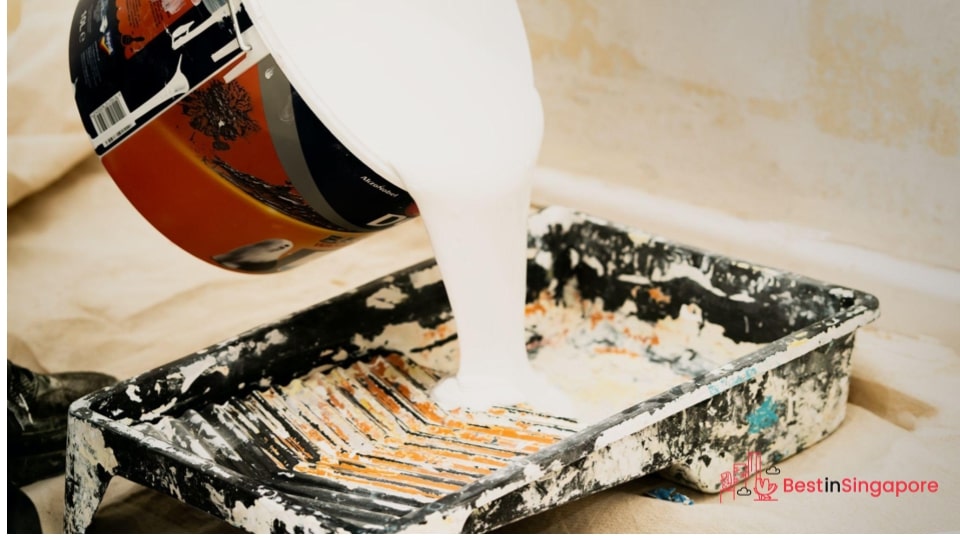
As with any home renovation project, you’ll need to gather all the tools, accessories, and cleaning-up items first. This will help you streamline the process better and make less of a mess.
It’s a common renovation mistake to not measure all the spaces and surfaces that need to be painted. So be meticulous about sizing up the gap between your toilet and the wall behind it because this can help you plan how to paint it (and how much paint you’ll need).
With that in mind, you’ll be needing space-appropriate painting tools and accessories for this particular task. A wide brush or average-sized paint roller won’t do, so consider more slender brushes or thinner rollers for the job.
Protect your toilet tank, bowl, and the floor around it.
It’s a bonus if you know how to do some basic toilet renovation or easy plumbing fixes for this task. But if you’re not sure how to dismantle a toilet properly, you can just take the lid off the tank and cover it with a garbage bag for protection.
Do the same for the rest of the toilet, including the toilet seat covers and the entire bowl and floor surrounding it. You can use recycled tarpaulin or cut up large trash bags to wrap the toilet unit and protect it from drips.
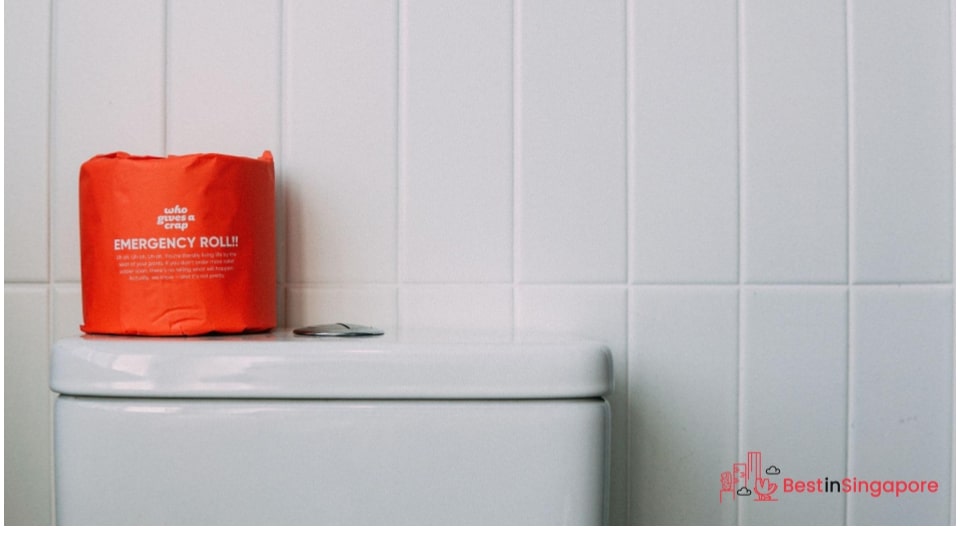
Of course, it goes without saying that bathroom accessories like toilet paper, shampoos, towels, and others should be taken out of the room first so they won’t absorb paint fumes.
Calculate how much paint you’ll need.
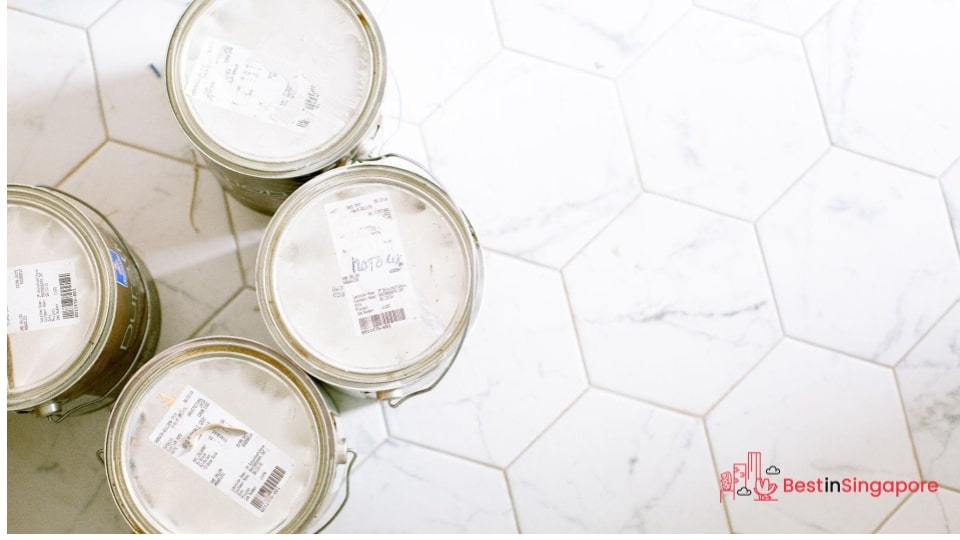
Carefully measuring the spaces and painting surfaces can significantly save money on home renovations especially if you’re repainting. You can figure this out by determining your bathroom’s shape and square footage and then subtracting the spaces taken up by the door and windows.
Don’t forget to measure the space behind your bathroom mirrors, as well. If they’re installed in such a way that removing them for painting would be a big inconvenience, at least you’ll know how much square footage to subtract.
But for awkward spaces like behind toilets and sinks, a good guesstimate would be somewhere between two inches to less than an inch so you know you won’t be using an entire can of paint. And that’s when slender brushes or using a flat sponge to paint with can help.
Paint the wall with at least two coats.
The best painting services in Singapore won’t consider their job finished after just a couple of coats. But for a DIY task that involves painting behind bathroom fixtures, at least two coats should be fine.
The great thing about this unusual activity is that you can use paint that’s leftover from previous painting jobs. That means a lot of savings from the hardware stores or paint shops for brand new supplies.
While painting and after you’re done, make sure to keep your bathroom door and windows open to let the paint fumes dissipate faster.