

How to Repaint Your Kitchen Cabinets

You won’t have to pay for full kitchen renovation services to spruce up your cupboards, not when you can already do a lot with some paint and brushes!
Today’s post shares some practical tips on refreshing your kitchen cabinets the DIY way. We hope you’ll find it a good resource for when you’re ready to give your kitchen a facelift.
Calculate how much paint you’ll need

A practical advice to save money on home renovations is to measure how big your cabinets are so you’ll know how much paint and materials to get.
You can use a tape measure, ruler, or any tool to help you determine you cabinets’ height and width. It won’t do to guesstimate measurements or you might find yourself short on custom-mixed paint, which could result in a patchy or uneven paint job.
So never neglect this part. It’s what makes the best painting services in Singapore so precise and thorough at what they do.
Gather all your painting materials and tools

An essential home improvement tip is to prepare all the necessary tools before launching right in to the renovation tasks. So once you have an idea of how much paint to get, you can make a list before heading out to your favourite hardware store.
Aside from the paint (which you can have mixed at a specialty paint shop if you want something unique), you should also get tools for prepping and cleaning up. Pick out paintbrushes, paint rollers, medium-grit sandpaper, paint trays, drop cloths, painter’s tape, wood sealer, bonding primer, and other necessities.
You probably won’t need a broom, dustpan, or vacuum cleaner if you already have those at home, but it’s always good to stock up on extra rags.
Clean and prep all surfaces and remove hardware
For this step, you’re going to need some basic carpenter abilities as well as cleaning skills. But don’t worry because they’re pretty simple tasks you can easily do.
Painting a cabinet or cupboard door will be a lot more precise and clean if you remove them and place them on a designated work area. So bring out your screwdriver and unscrew the hinges and all the hardware so they won’t get ruined by paint.
While you’re at it, carefully cover all the kitchen parts that you can’t move somewhere else, like your electric stoves and other built-ins. This will protect them from paint splatters and fine dust.
Then use your sandpaper to lightly sand the scuffed up parts of your cabinet doors. But take care not to use it too roughly or you’ll ruin the finish.
Prime surfaces before applying paint
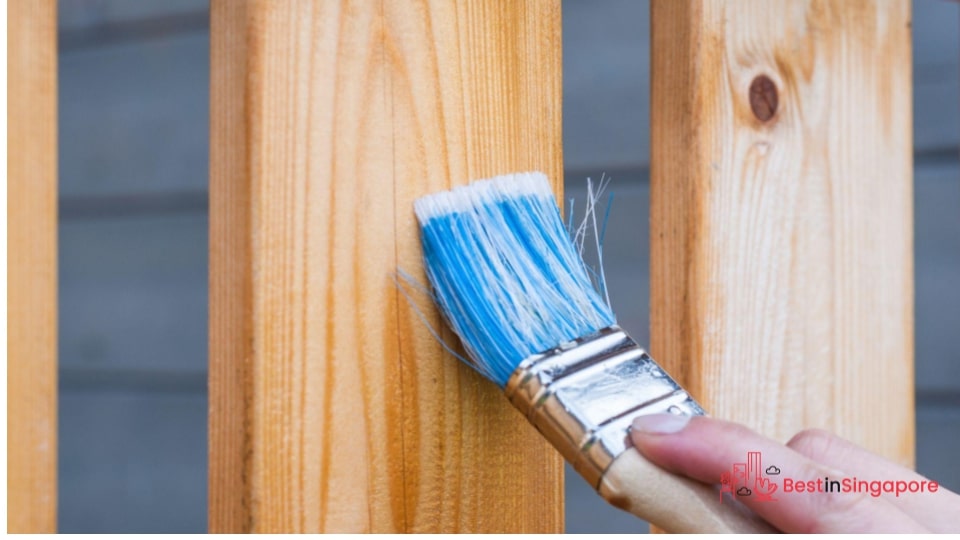
After cleaning all the surfaces you’ll need to paint, you can then start priming it for an even finish. Priming is an important aspect of kitchen cabinet repair because it helps the paint adhere to the surface better and can make it last longer.
If you notice any holes or cracks on the surface, you can use spread some putty over them using a putty knife or your fingers, then sand it flat once more.
Then once things have dried, you can start painting your cabinet with semi-gloss or satin latex paint. Let the paint dry in-between before adding a second or third coat until you’re satisfied with the result.